Painting Restoration and Conservation:
Stroke by Stroke
The ravages of time and nature take their toll on everything, no matter how beautiful. Paintings are no exception. A dark, brownish texture, like a layer of opaque film caused by aging varnish, starts to obscure the depth of color and canvas details. If the painting has monetary or sentimental value to you, it’s time to call a “fine art doctor”, also known as restorer / conservationist, before your beloved painting goes to heaven.
Before we go on, I’d like to quickly clarify the difference between restoration and conservation. There shouldn’t be any. A skilled and ethical restorer uses conservation methods no matter what she/he restores – porcelain wares, dolls, furniture, painting, glass.
To restore means to repair the effects of aging, damage (water, fire, etc.) or tears in the canvas. To conserve is to respect the integrity of the original work while reducing future damage – loss and deterioration — to a minimum, thus making the work of art looking its best for the longest possible time. Although painting conservation is not magic, the best restoration is invisible, i.e. done at such a level of skill and talent that the original artist shouldn’t be able to tell the difference.
The Process
Step 1: Examine the work. The conservationist does not need to have a Ph.D in Art History, but she/he has to identify the style and technique of the original artist in order to properly replicate them.
Step 2: Carefully remove the frame and examine the bits of paint on the edges of the canvas in order to determine the combinations of color (scheme) the original artist used.
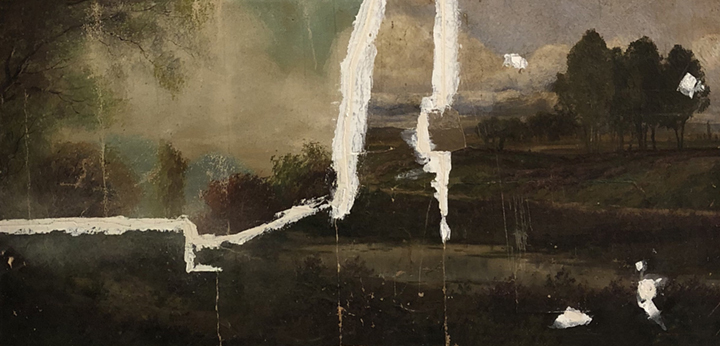
Step 3: Slowly and steadily remove the varnish, bit by bit, with a cotton swab dipped in a solvent to see the “true” color underneath. It is important to avoid scraping the pigment. It is equally important not to use too much solvent as it can burn away the pigment. This is the most painstaking part of the restoration process. Once this part is complete, the conservator is ready to recreate the color and details.
Part 4: Brush a “synthetic varnish”, also known as “temporary varnish” to separate the original surface from the colors that will be added to reconstruct the pattern of the painting.
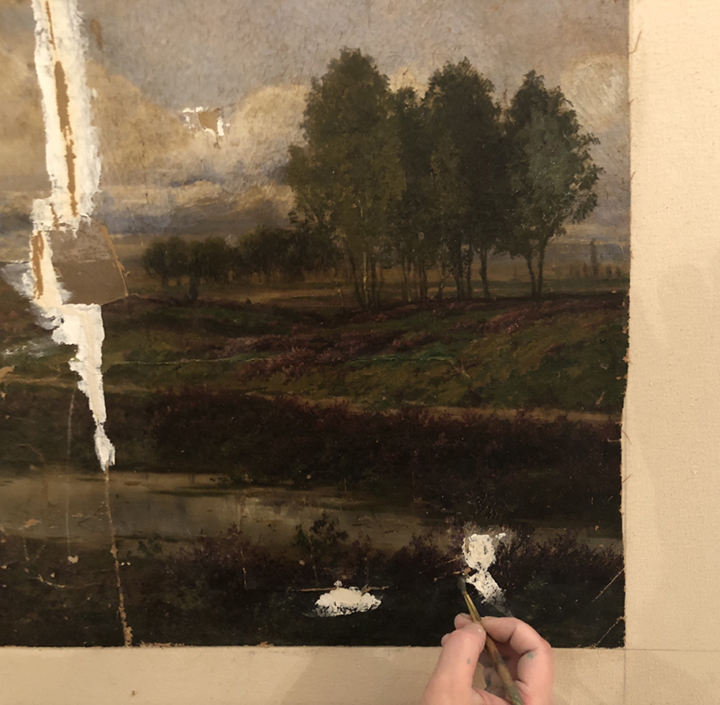
Part 5: Using a jeweler’s loupe and a small brush (00) apply dots of color in pattern to recreate the original areas of the painting affected by the damage.
When Step 5 is finished, the restoration is complete. The materials used for restoration are non-toxic or invasive, and can be removed at any time without damaging the painting.
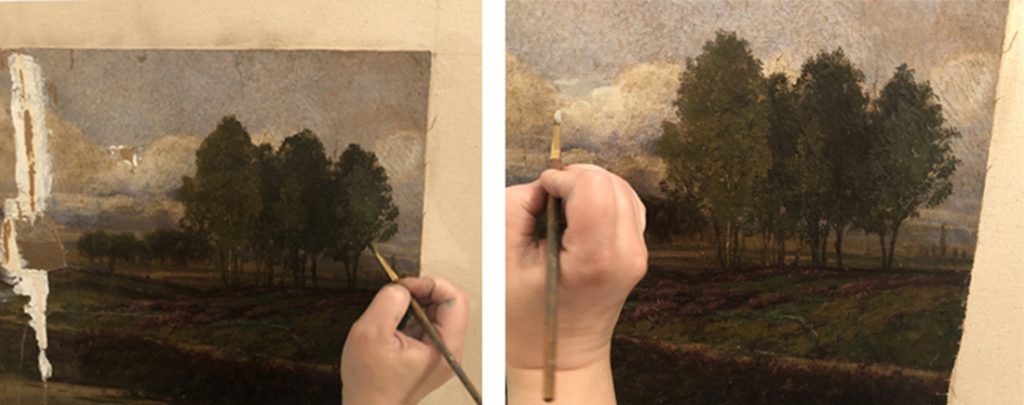
Almost Done
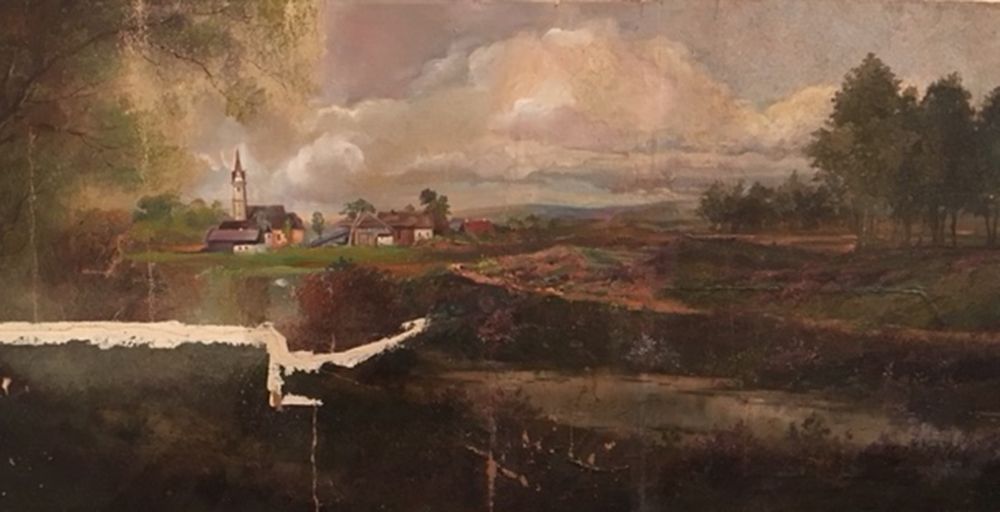
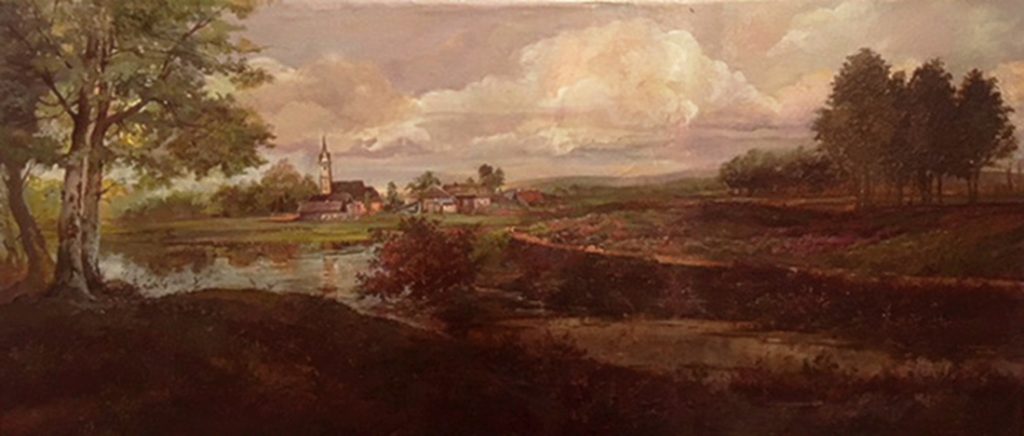
Restored
More Projects
https://luelstudio.com/painting-restoration2/
Post-Restoration Tips
- Reframe the painting with using a frame with acid-free backboard.
- Never hang the painting in direct sunlight, near a stove or air conditioner, or outside.
- Examine the painting from time to time for any blemishes or time damage.
Always choose a qualified restoration expert to conserve your valuables and sentimentals.